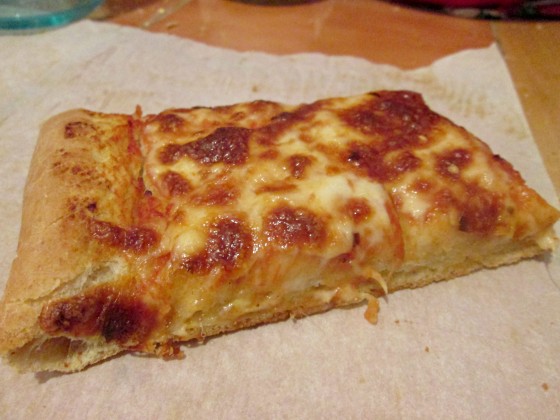
I posted not one, but TWO different pizza crust recipes on here last year. Since then, I’ve made a lot more pizza than I’d like to admit but didn’t use the same crust recipe each time. While the ones I posted were delicious, I started looking for something else. All of a sudden, I had new criteria for the pizza dough I was looking for. As a New Yorker, I’d like to think I know what good pizza (and crust) should look and taste like. I’m not a professional pizza person but I know what I like.
For me, the key to great pizza crust is to have one that’s sturdy, slightly chewy, super thin, toasty and crunchy. Sounds complicated but is actually somewhat easy.
First thing’s first, let’s talk ingredients. The main difference between this recipe and the one I posted previously is the flour. What’s the big deal here? Well for one, this recipe uses bread flour! I started using bread flour just recently and have completely blown my own mind, which is ridiculous considering I bake bread weekly and have never used it. It’s crazy but I’m like, bread flour 4 lyfe now. The thing about bread flour, that isn’t the same as all-purpose, is that there is more protein in there. More protein = more gluten. The more gluten in your dough, the chewier it becomes. Magical, right? Obviously we want a chewy crust, so bread flour was a little bit of a no brainer.
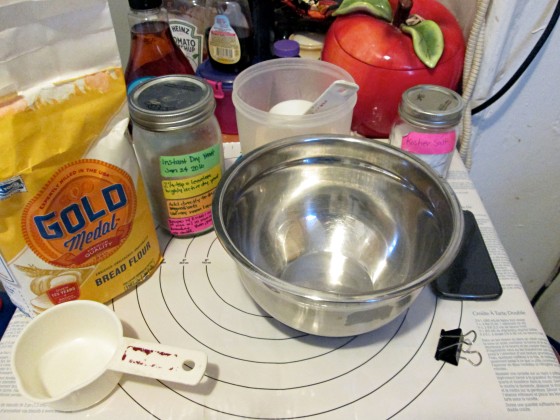
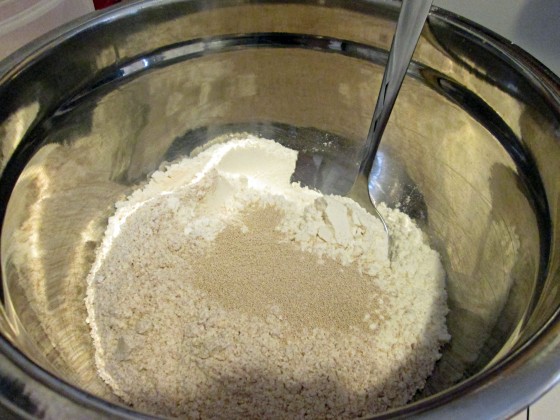
The second difference between both recipes is the yeast. For this recipe, I used instant yeast. Now, there’s not much of a difference between instant and active dry yeast because they both do the exact same thing. However, one is a lot easier to use than the other. For starters, with instant yeast, there’s no need to proof it in warm water before incorporating into all the other ingredients. The yeast can be combined with the dry ingredients with zero issues. That means I don’t have to worry about killing the yeast before I even start the recipe by using water that’s too hot.
The second best thing about instant yeast? You can skip the first rise! Man, I love this part so much! Instead of having your dough proof for an hour after kneading, cover that bad boy for just 10 whole minutes before moving on to part two. Isn’t that great? This means I can get to bread, or pizza in this case, a lot faster than before. One final note about instant yeast is that if you’re subbing it for active dry, the amounts do not change. An envelope of active dry yeast contains 2 1/4 teaspoons of yeast, which means that if I were to use instant, I’d use 2 1/4 teaspoons as well.
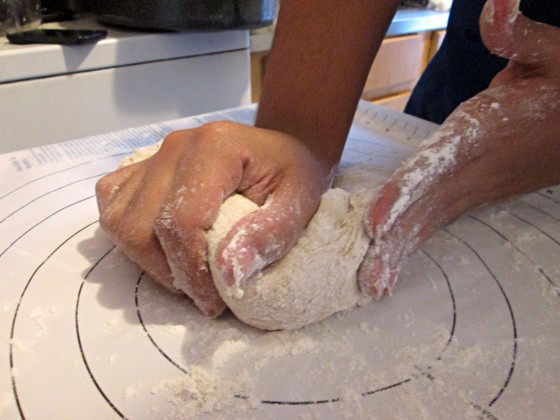
Now that we have our ingredients down, let’s talk dough for a second. I make all my doughs by hand. It’s good to get into kneading and making your own dough before letting a machine do it, so you know when your dough is ready. Considering I don’t have a mixer yet (insert tears here), I know my doughs quite well. When kneading, you need to keep on going until it’s no longer sticky, and is smooth and elasticky (is that a word?). It sounds weird but the more you get to know your dough, the easier it is to figure out when you’re done kneading. It’s also helpful to knead as quickly as possible. The faster you move your dough around, the faster it’ll come together and minimize your kneading time. If you’re doing it by hand, this is especially important.
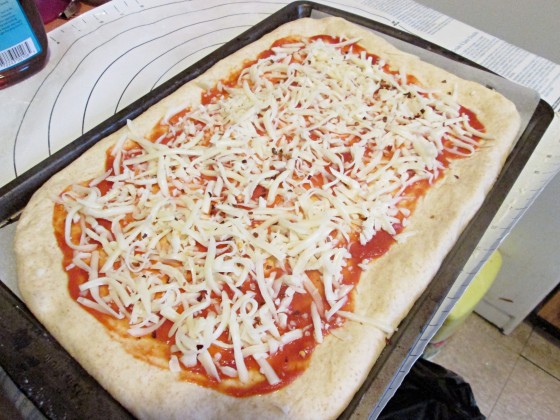
Since we skipped the first rise, thanks to instant yeast, make sure your oven is hot before you get started. A hot oven is crucial when making the ideal pizza crust. If you have a pizza or baking stone (you lucky duck), this is the best time to use it. It helps get that crispy and toasty thing I mentioned, and it also looks cool in your oven. I don’t have one, so a baking sheet works just fine. Line that sheet with some parchment paper before putting the dough on it. I think you can skip this step for most sheets (maybe a drizzle of olive oil for security) but I like having it on there. Once that’s ready, roll out the dough. There’s two ways to go about this; you can use a rolling pin or stretch it out by hand. I won’t judge you if you use a rolling pin (I’ve done it before) but I prefer stretching it out by hand; makes me feel like a legit pizza maker. You don’t have to do any air tricks or anything, just make sure you’re stretching it out uniformly.
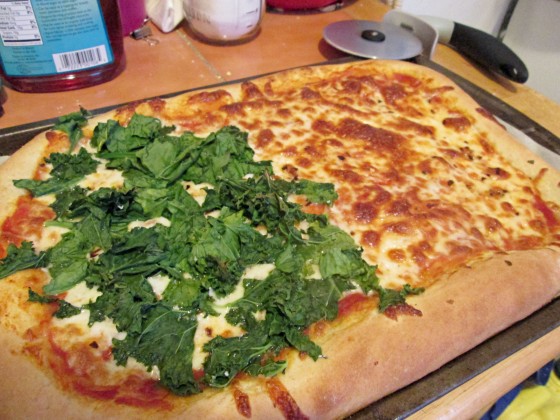
Once it’s stretched and shaped to your liking, sauce and top that beautiful hunk of unbaked crust. Go crazy with your toppings! We kept it pretty clean and simple but use what you like. I’m a fan of throwing greens on my pizza for two reasons: makes me feel like my pizza is ~healthier~ and because I won’t eat them otherwise. I’m terrible like that. When I do add greens, I top my pizza with them during the last five minutes of baking so they won’t burn or dry out too much.
Does this crust match my criteria? Yes it does! It was definitely sturdy; it held all that cheese and those greens beautifully. It was slightly chewy, thanks to that bread flour. Most parts were thin, crispy and crunchy just like I like, and was ultimately delicious! The crust parts got away from me and got a little too thick but no worries there. It’s subtle in taste as well, which is great if you’re using toppings that should be singing on their own. Since we kept it plain, my pizza tasted like the pizza I was looking for.
Since converting to bread flour and the magical instant yeast, this recipe a keeper!
- 2 1/4 teaspoons instant yeast
- 1 teaspoon white sugar
- 2 cups bread flour
- 1/2 cup whole wheat flour
- 1 teaspoon salt
- 1 cup warm water (about 110F)
- 2 tablespoons olive oil
- Preheat the oven to 450F. Line or grease a sheet pan and set aside. Alternatively, ready your baking stone if you’ve got it. In a large bowl, combine the flour, yeast, sugar and salt. Add the warm water and olive oil, and mix until combined.
- Turn the dough out onto a lightly floured surface and knead until smooth, up to 10 minutes. Cover the dough either with a towel or the bowl and rest for 5-10 minutes.
- Gently deflate the dough and roll/stretch out into your desired shape. Transfer the dough to your prepped pan and top as desired. Bake pizza for 15-20 minutes, or until crust is golden brown and toppings are cooked. Cool for five minutes before serving.
Recipe adapted from allrecipes


